
You have secured a lease. Now what?
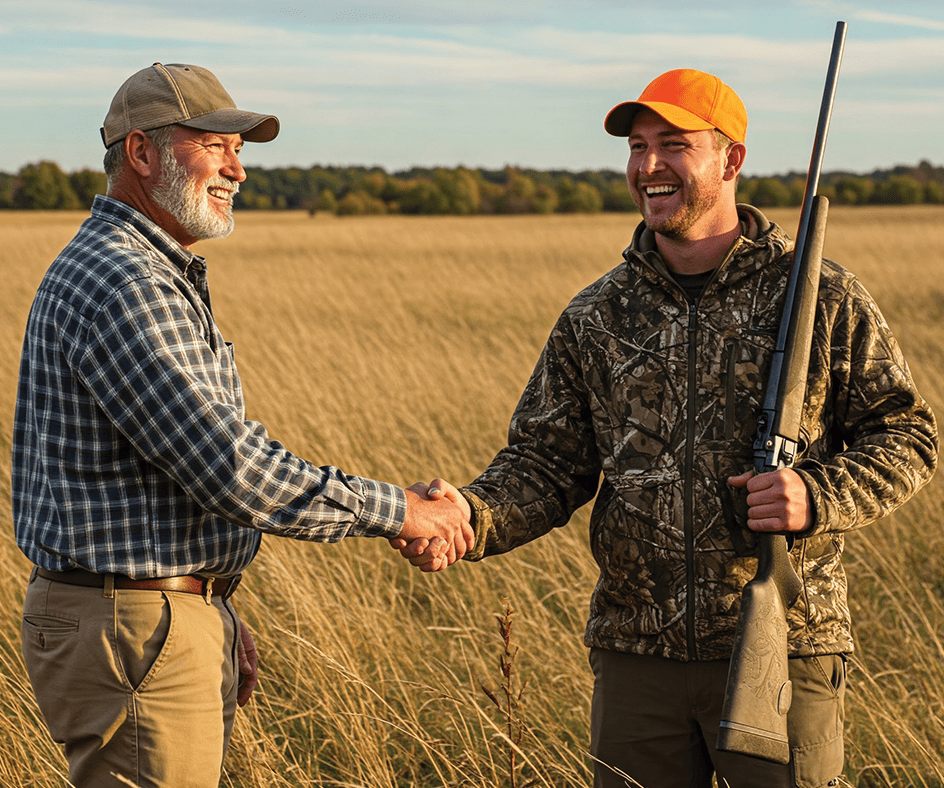
Congratulations to you and your pals. Securing your own hunting lease is a big step, but one you will be glad you took. No other arrangement can bring you the safety and quality of hunting private land like a hunting lease.
I don’t want to repeat the same topics I wrote about in the last two articles of this series. If you want to review those, they can be found here.
Are you ready for a Hunting Lease? – The Scope
Let’s Do It. Choosing the Right Hunting Lease. – The Scope (ahuntinglease.org)
Instead lets really take a look at how you can make the very most of your own hunting lease. Of course, “when” you signed the lease will have an impact on what you can and/or should do on your lease. Let’s assume your lease was signed, insured and paid for in the early fall. That is typically a busy time with regard to leases for a few reasons. Human nature is hard to overcome. Hunters, like everyone else are terrible procrastinators. They wait for the fishing to dry up and the calendar to turn to September before really thinking about where they will hunt. Along those same lines, many hunters wait until fall to call their landowner and confirm permission to hunt. Many times they get the bad news that the land has been sold, they upset the landowner last year and never knew it, or the property has been leased. Get a jump on everyone else and begin making your plans in the summer when your competition is spending their time on the water.

Walk the property to know where deer are traveling to and from.
An early fall agreement on your own hunting lease might limit your options with regard to food plots, but valuable clues are starting to show up that will help guide your strategies.
Assuming you walked the property before you signed the lease, you should have at least a fundamental understanding of the lay of the land of your own hunting lease. Now is the time to make your way into the woods a little further and begin understanding how the deer are using your lease. Personally, I don’t think you need to push all the way into obvious bedding areas, but I like to walk a field edge until I find an obvious trail coming out of the timber. Take that trail into the woods a hundred or so yards and make a few mental notes. Fresh sign? (tracks, poop) Did you walk through several cobwebs on the trail? (if you did, it’s clear that no deer have used that trail in the last day or so.) Is there a food source like acorns on the trail? Is there obvious crop damage around the trailhead? The trail itself is an obvious sign of deer travel, but don’t’ be happy with just a trail. Make sure it is being used routinely. These clues will help you with the next two steps, but you have to have enough information to take steps 2 and 3.

Researching the herd
There is no substitute for observing deer in person. (Side note: you don’t have to be the person that observes deer movement. If you are lucky enough to have a landowner that lives on the lease, ask them what they see and then act on it! My favorite mantra…Don’t guide the guide!) Hanging trail cameras is the next best thing to actually sitting in a stand. The importance and value of a camera really can’t be overstated. With that said, I know the game camera market has gotten a little crazy lately. I personally like the Covert line of cameras. They are small, compact and take high quality pictures. The best part is their value. You can get a very nice Covert camera for under$130 and be confident it is working when you can’t be there. They can be found at covertscoutingcameras.com. Hanging and checking cameras is a sport all on its own. I absolutely love running cameras all year round. It gives me a reason to get out and enjoy a walk around our lease and I never come back without learning more about the area.
This late in the game, you shouldn’t have any problem getting pictures of deer on your own hunting lease. If you were able to find some fresh sign near the trail we discussed earlier, I would find a nice sapling or tree nearby and put a camera up. I don’t recommend using minerals or food this late in the year. It’s been my experience that does will eat all of your food and big bucks tend to shy away from this new food source. Placing your camera a few yards off of a well-used trail and preferably with the deer traveling toward the camera will get you all the pictures you need to take step 3.
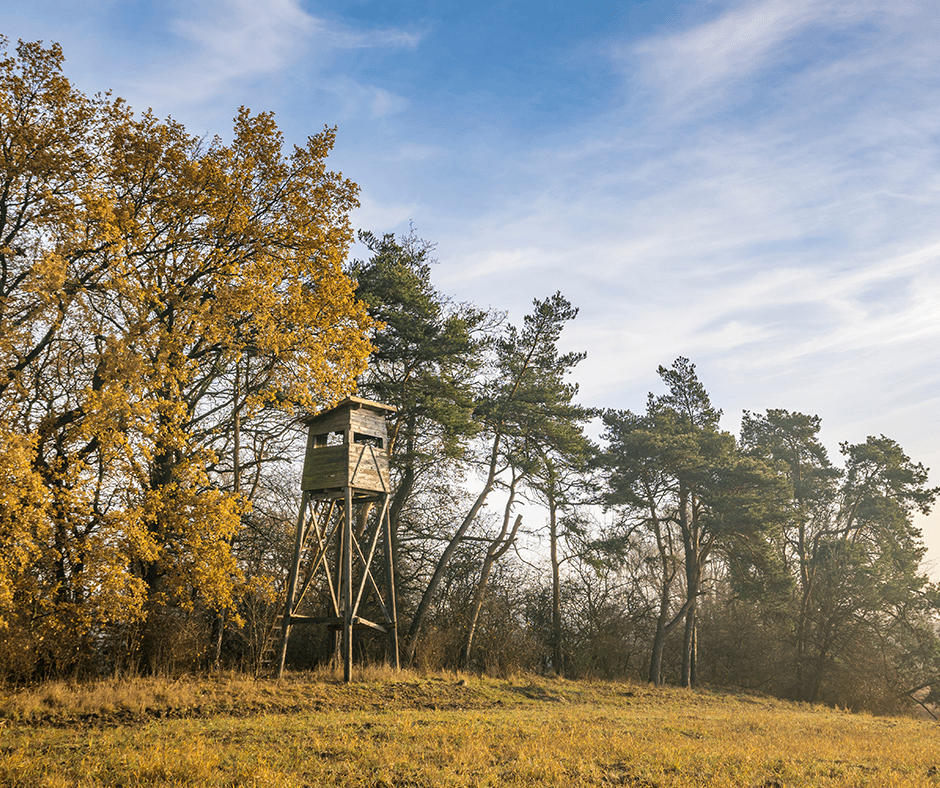
The final step is to hang a stand or two.
My strategy here is a little out of sync with other hunters. The fact is that I don’t mind hanging stands, in fact I really enjoy it! It’s not that I want to hang 8 tree stands on the first day, not at all. I just have no problem hanging a stand and then taking it down and rehanging it in another tree if that’s what my “research” is showing for my own hunting lease. I may hang a stand in what I believe is a good tree. I typically keep my pruning and lane cutting to a minimum until I am certain that is the tree to be in. I can always go in early and trim a couple of lanes before a hunt. Likewise, if that tree proves to be off just a few yards, I will take it down and put it where I can give myself the best chance to harvest deer. Don’t overdo it. You will end up hanging 5 stands in an area and running out the one mature buck on your farm.
My overall strategy has always been to tread lightly on a new lease. Until I know what trails are being used, what food is being eaten and what bucks I have living there…I don’t want to change things too much. As I get pieces of the puzzle, I push a little further in and try to hang a little closer to bed…but only when I have a clear picture.
Enjoy your lease and above all….hunt safe!

Leave A Comment